This video shows how you can add a contact form to your WordPress website.
Whether you are creating a simple blog, a professional website on WordPress, the contact page is always an essential element. This video shows you how to create a contact form in 3 steps. When you create and install the contact form, anyone who needs your help or just wants to share something, will be able to fill in the required fields (usually the name, email, and message) and send a message to you. You will immediately be notified of the new message through email and you will be able to reply to it.
STEP 1: Installing the contact form plugin To install the plugin, log in to your WordPress dashboard and open Plugins — Add new. In the right top corner, you will find the search field. Type “Ninja Forms”. In the search results, click “Install”, and then “Activate”. After that, it will be displayed in Plugins — Installed plugins.
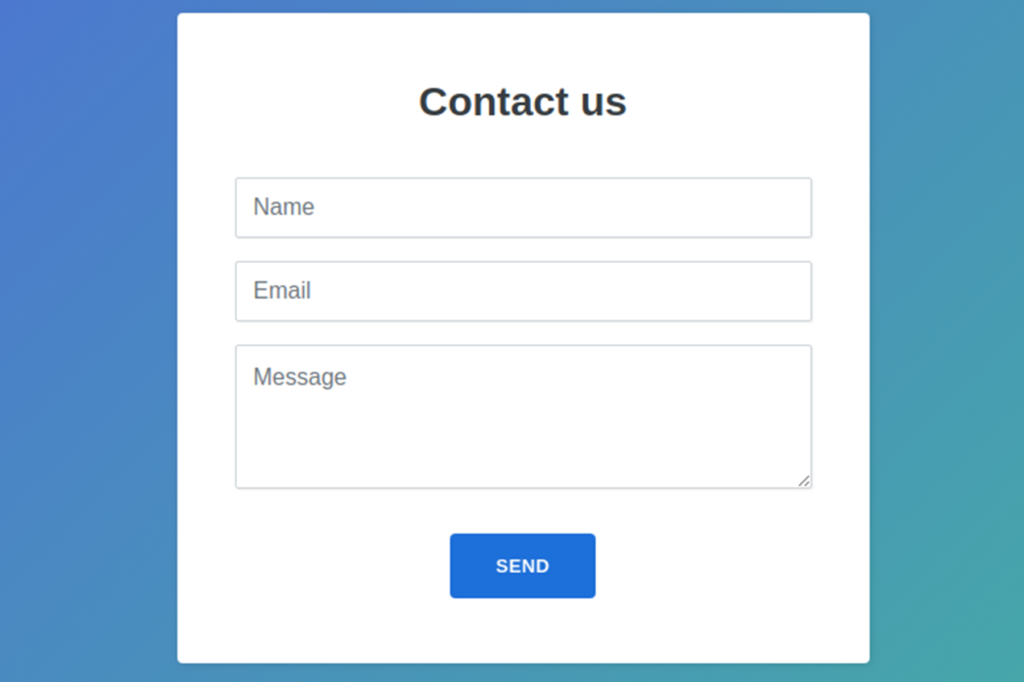
STEP 2: Create your contact form In the left side menu, click Ninja Forms, and delete the default contact form. For that, click on the gear wheel button and select Delete. To create a new form, click the Add New button and select four types of contact forms. Let’s select Contact Us form. By default, it will contain Name, Email, Message fields and Submit button.
STEP 3: Adding this form to your page – Default WordPress page To add the contact form to default WordPress page, on side menu go to Pages — Add New. Name the page “Contact Us”. In the text editor, click Add Form button and in a drop-down menu select the form created in the previous step. Click Insert button and publish the page. View the page to see whether the contact form was added properly. – Adding to an Elementor Page When you use Elementor to create a page, open the page you want to add the form and click Edit with Elementor at the top. In the Elements section, search for forms and select Ninja Forms Widget. Choose a section of the page where you want to add the form and click + to add the new one. Drag and drop the widget from the left side of the screen, and select the created form from the drop-down menu. To insert the form, click Apply button. You are also able to change the form size.
STEP 4: Demo – How it works Now let’s test the contact form. Open the page with contact form, add your name, email, and message & click submit. Immediately, you will get an email to the address you selected while creating the WordPress website. To change the address, go to WordPress dashboard, choose Settings — General. Add new address, and in the bottom of the page, click Save Changes button.